The last time I set up a tent slowly, it cost me twenty minutes of daylight, one twisted ankle stepping on a stake in the dark, and a very unhappy trail partner. That was trip three with a tent I thought I knew. The problem was not the tent. The problem was that I had never practiced a system, so every pitch was an improvised scramble. Since then I have run through the same five-step method on every trip I take, and it has cut my setup time from twelve minutes to under five, even in wind, even solo, even when I am exhausted at the end of a long day.
This guide uses the Naturehike Cloud-Up as the reference tent because I have used it more than any other freestanding shelter over the past two seasons. The Cloud-Up is a two-pole freestanding design with a pole-sleeve system, a clip-and-sleeve hybrid that is common across most budget and mid-range backpacking tents. If your tent works differently, for example hub-and-strut or tunnel poles, the overall sequence still applies, but the pole-threading step will look slightly different. The principles are the same regardless of brand.
If Your Tent Takes Ten Minutes to Pitch, the Problem Might Be the Tent Itself
The Naturehike Cloud-Up uses a straightforward two-pole freestanding design that most hikers learn in under fifteen minutes on the first pitch. It weighs 3.3 lbs with the footprint included, packs into a stuff sack about the size of a two-liter bottle, and fits two people. Check today's price and current stock on Amazon.
Amazon Check Today's Price on Amazon →Before You Even Unzip the Bag: Site Selection and Gear Staging
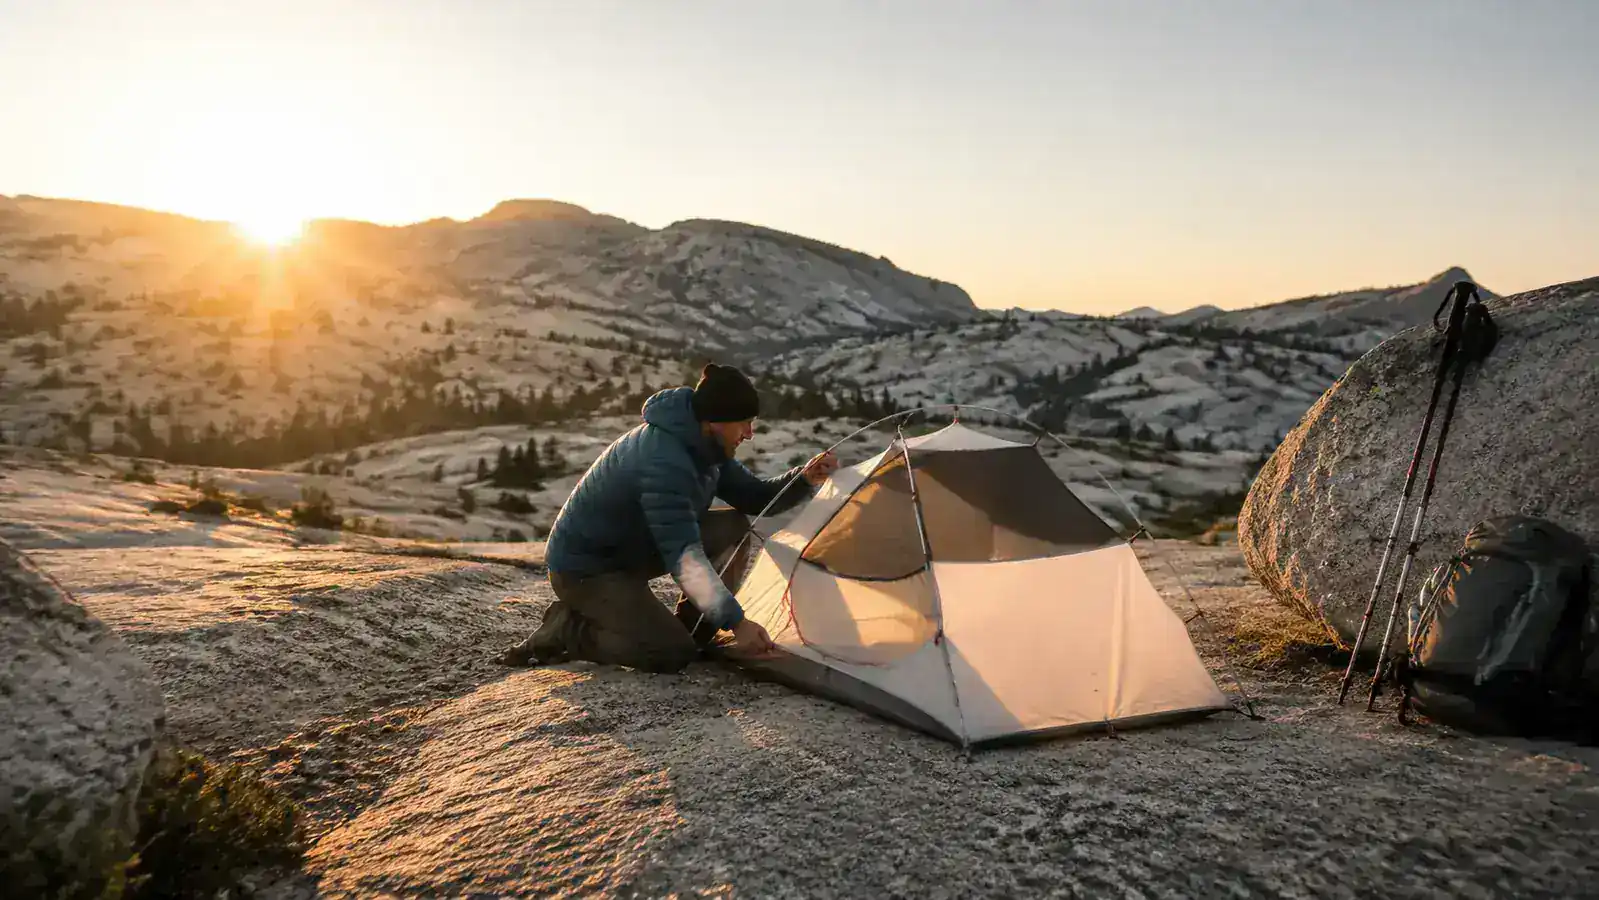
Setup speed starts before you pull the tent out of your pack. Choosing the wrong site adds five minutes of relocation and re-staking. The right site is flat enough that you will not roll toward the low edge while sleeping, cleared of rocks and roots that will poke through your sleeping pad and eventually the tent floor, and oriented so the door faces downwind. That last point matters more in summer when condensation is your main concern: you want airflow to pull moisture out, not push it in.
Once you find the site, stage your gear before opening the bag. Pull out the footprint first, then the tent body, then the poles bag, then the stakes bag. Do not dump everything at once. That pile becomes a chaos of loose poles rolling toward the creek and stakes you step on at 2am. Lay the footprint flat in position, smooth side up. Set the tent bag on top of it but do not open it yet. Now orient the footprint in the direction you want to sleep, with the door end facing the view or the downwind direction, whichever matters more on this particular site.
Step 1: Lay the Footprint and Anchor One Corner
Spread the footprint flat and drive one stake through a corner loop, angling the stake at roughly 45 degrees into the ground with the hook facing away from the tent. This is your fixed reference point. Everything else gets measured from it. The reason you stake one corner before anything else is to stop the footprint from shifting while you work. Wind will move an unstaked footprint the moment you turn your back, and then you lose the orientation you just chose.
On the Cloud-Up, the footprint has color-coded corner loops that match the tent body clips. The stake goes through the loop, then the tent body corner clip attaches to the same stake hook. This two-in-one attachment is why having the footprint already staked before the body goes down matters. If you skip this step and lay the footprint and body down together, they shift relative to each other and you end up with wrinkles and misaligned clips that slow down the next step.
Step 2: Connect the Poles Without Threading Mistakes
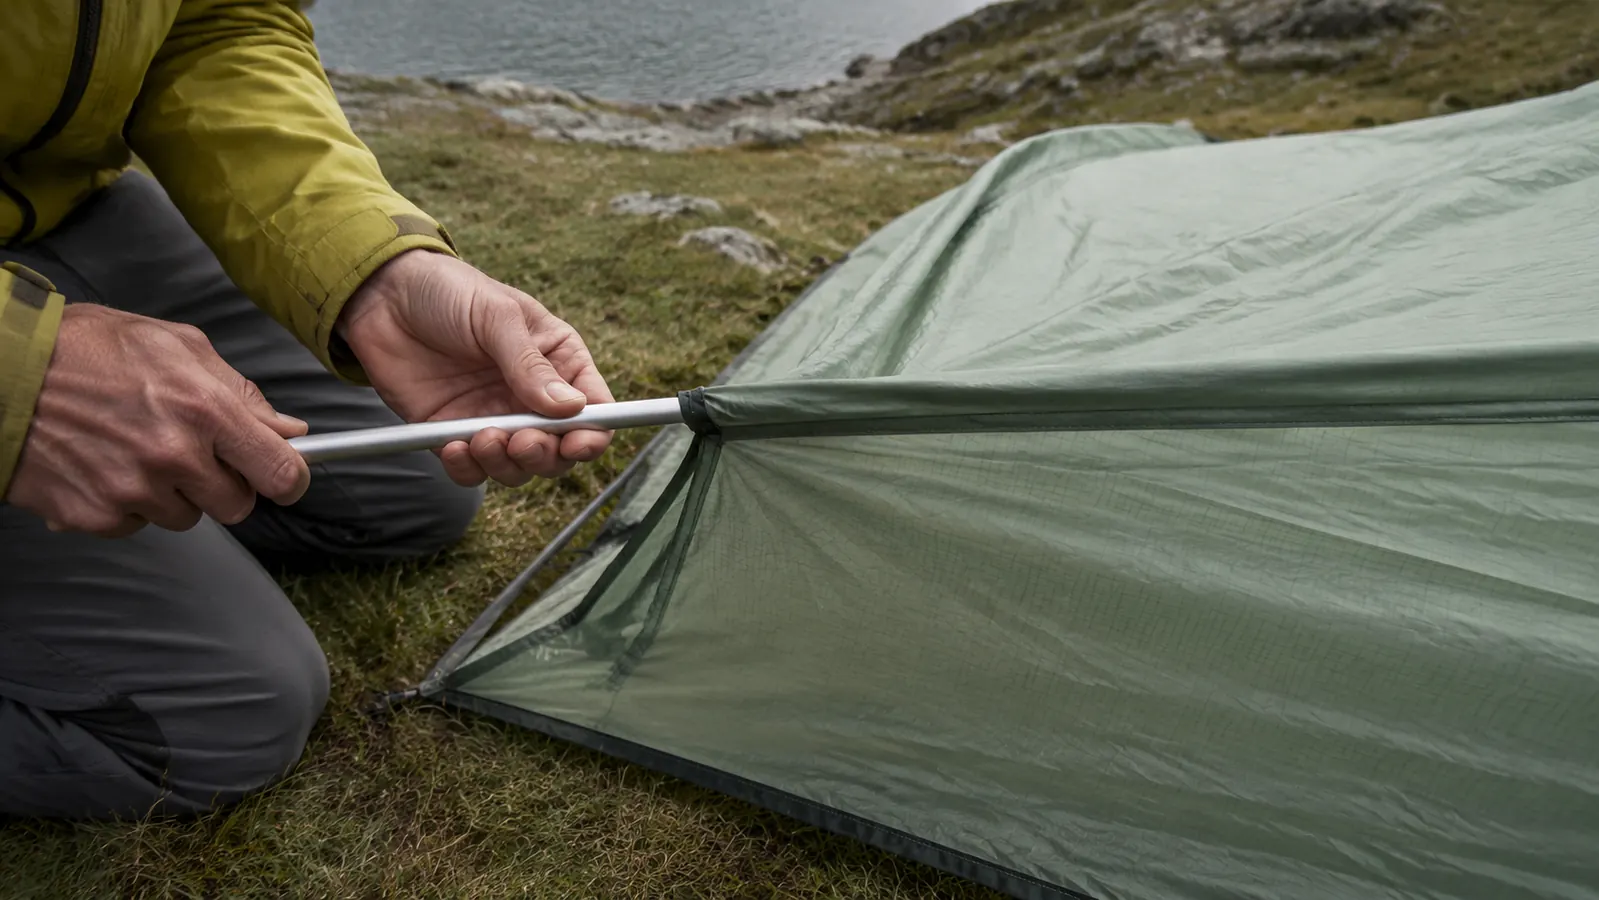
The Cloud-Up uses a combination of pole sleeves at the top and clips along the body. Pull all four pole sections out of the bag and connect them by feel, snapping the ferrule joints firmly until you feel the click. Do not leave half-assembled pole sections lying on the ground. Assemble the full pole before you start threading. A half-assembled pole gets a dirt-covered joint that wears down over time and seizes in cold weather.
Thread each assembled pole through its designated sleeve from the same end every time. On the Cloud-Up, both poles feed through a short center sleeve at the top, then their tips clip into the corner grommets at the base. Threading from the same end each time prevents the pole from buckling mid-sleeve, which happens when you thread from alternating ends on different trips. Once both poles are through their sleeves, you have a flat X shape laying over the tent. Do not try to raise it yet.
Step 3: Raise the Tent Body and Attach the Remaining Corners
With both poles threaded, crouch at the staked corner and push the opposite pole tips into the corner grommets on that side. The tent will bow up as the poles flex. Now move to the unstaked corners and press the remaining pole tips into their grommets while simultaneously clipping those corners to your already-staked footprint. On a two-person tent this is easier with a partner holding the far side, but solo it works fine if you keep one knee on the windward side to stop the tent from blowing over before all four corners are down.
At this point the tent is standing but floppy. Run your hand along each pole and make sure every clip is attached from the body to the pole shaft. On the Cloud-Up there are seven clips per pole. Missing even two clips on one side creates a visible sag that collects rain and reduces interior headroom. This is one of the most common shortcuts people take when they are tired, and it is one of the most consequential. Takes thirty extra seconds to check. Worth it every time.
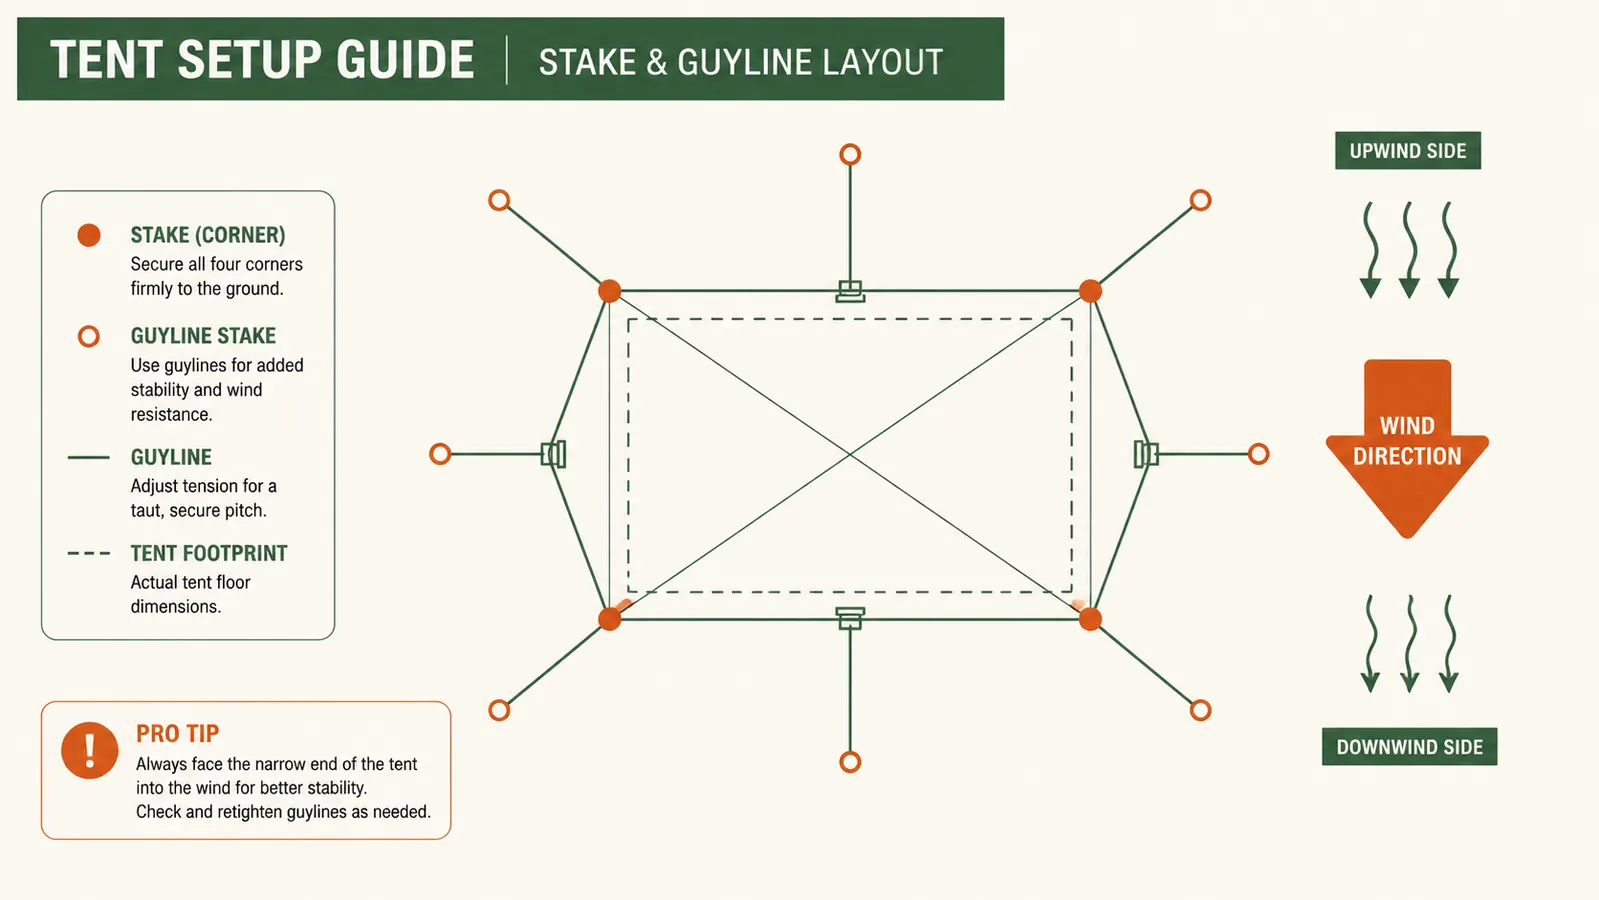
Step 4: Stake Out the Remaining Corners and Tension the Tent
Drive the remaining three corner stakes now, pulling each corner gently taut before pushing the stake. The tent floor should be flat with no bubbles or diagonal wrinkles. A wrinkle running from one corner to the opposite corner means that corner is over-tensioned. Back the stake out slightly and re-angle it. The goal is even tension across all four edges so the rainfly sits at a consistent angle and sheds water instead of pooling it.
On rocky or sandy ground, the standard 7-inch aluminum stakes that come with most tents, including the Cloud-Up, will not hold well. Carry two to four V-stakes or Y-beam stakes for exactly this situation. In sand, use the deadman method: bury a stake horizontally six inches deep with the guyline attached to the mid-point, and mound sand over it. Takes ninety extra seconds and holds through wind that would pull a standard stake clean out of the ground.
Step 5: Attach and Tension the Rainfly
The rainfly goes on last for freestanding tents in fair weather, but first if weather is coming in. In the Cloud-Up the fly attaches to the pole tips at all four corners and clips to the pole shafts at the mid-points. The Velcro wraps near the top of each pole are the part most people skip. Do not skip them. Those wraps stop the fly from sliding down the pole in wind, which is what causes that characteristic drumming sound at 3am when the fly is slapping against the tent body.
Guylines are the part of the setup that beginner backpackers consistently skip, especially when it is calm at setup time and the tent feels solid. Always stake at least the two windward guylines on the Cloud-Up, which have loops at the vestibule ends of the fly. Conditions change overnight. A tent that felt solid at 7pm in calm air can be a sail by midnight. Running out guylines to two stakes takes under three minutes and is the single most effective storm-prep you can do short of choosing a different campsite entirely.
What Else Helps
Gear organization inside the tent makes the next morning faster too. Shoes go in the vestibule, not the tent body, so you are not crawling over them to get out at 5am. Pack the tent in the same order every time: stakes bag first, tent body, poles bag, rainfly on top. That sequence means you always pull out the rainfly first on the next pitch, which lets you throw the fly over the tent body immediately if it starts raining mid-setup. For condensation management, leave the fly vents open at least two inches on both ends any time the overnight low is above 40 degrees. Closing the vents traps breath moisture inside and soaks the sleeping bag, which is a harder problem to fix on trail than a slightly cooler interior.
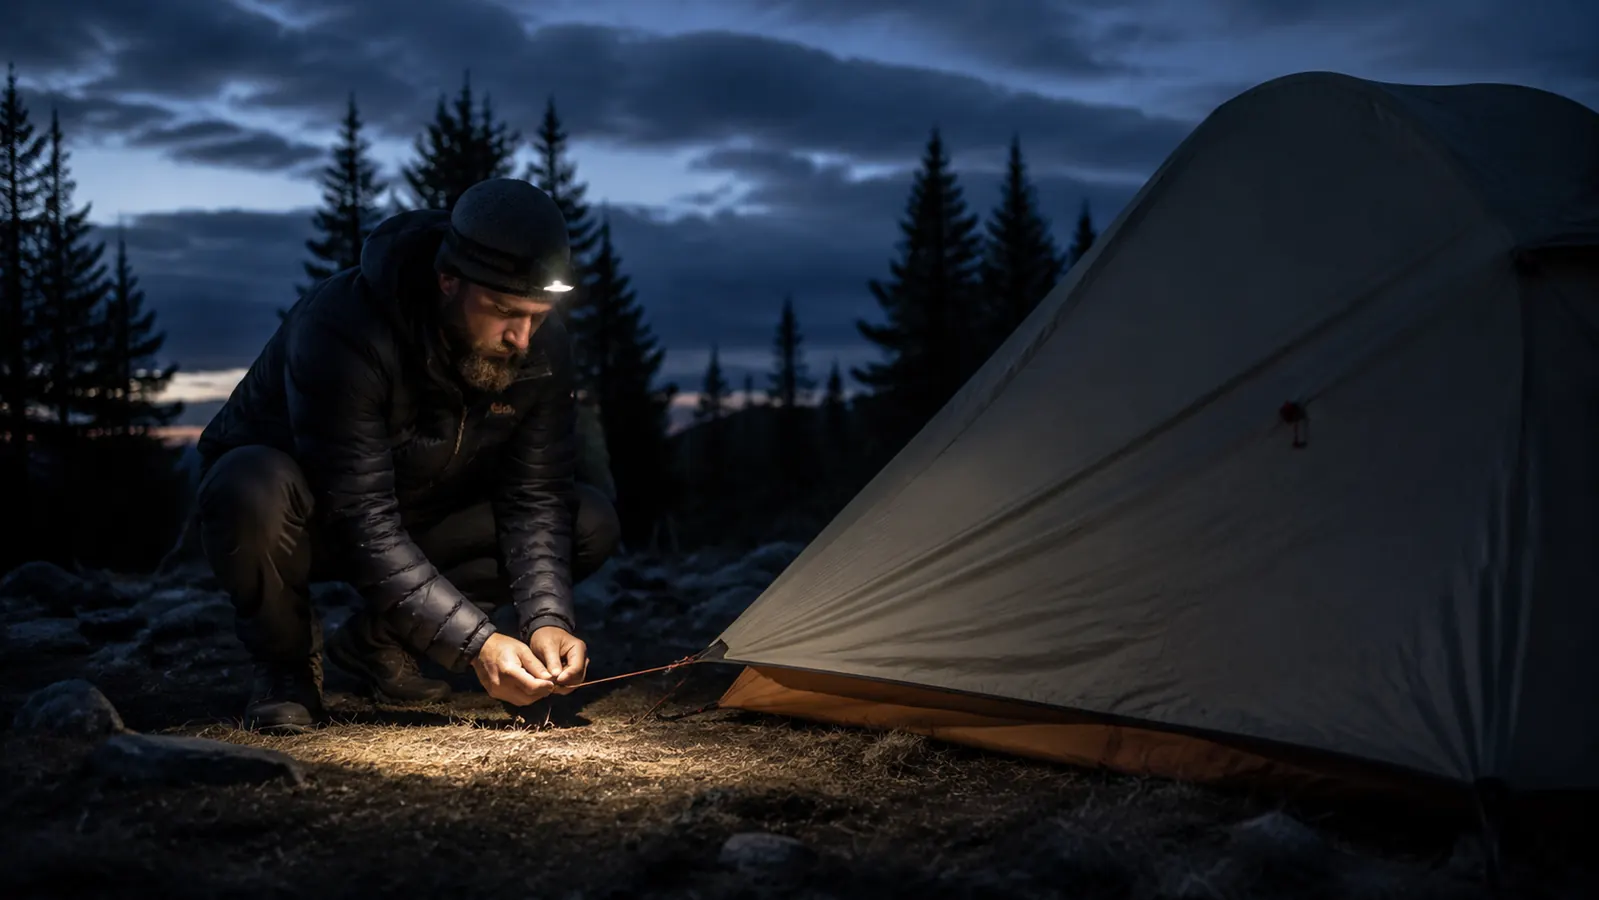
Practice at home matters more than any gear upgrade. Pitch your tent in the backyard once before any trip where you will arrive at camp after dark. That single dry run cuts setup time in the field by more than any pole system improvement, color-coded corner, or quick-clip design. You learn where your hands go without looking, which is exactly what you need at 8:30pm with a headlamp and a wind picking up. The Cloud-Up specifically benefits from a dry run because the center-sleeve threading is slightly counter-intuitive the first time, but becomes automatic after two or three pitches.
The fastest setup on any trip is the one where I had already pitched the tent once in a parking lot the week before. That ten-minute practice run bought back twenty minutes of light in the field.
One last note on solo pitching in wind: always start on the windward side. Stake the windward corner first, raise that side of the tent, then work with the wind at your back to attach the leeward side. Fighting the wind by starting leeward means you are wrestling the tent body and the poles at the same time. Starting windward means the tent naturally leans away from you and into the leeward stakes as you set them. It is a small thing and it makes the whole process feel noticeably more controlled. If you want more context on why the Cloud-Up holds up through that kind of setup pressure, the full field notes are in the Naturehike Cloud-Up long-term review. And if you are still deciding whether a freestanding tent is the right call for your trip style, the breakdown in why your tent choice matters more than you think covers the tradeoffs between freestanding, semi-freestanding, and trekking-pole shelters.
The Cloud-Up Is the Tent I Recommend When People Ask Where to Start
It is not perfect. The included stakes are mediocre, the interior pockets are small, and the pole bag zipper is stiff out of the box. But the two-pole design is genuinely fast once you have done it twice, the waterproofing has held through sustained rain, and the packed size is honest. It comes with the footprint included, which is not common at this price point. Check today's price on Amazon.
Amazon Check Today's Price on Amazon →