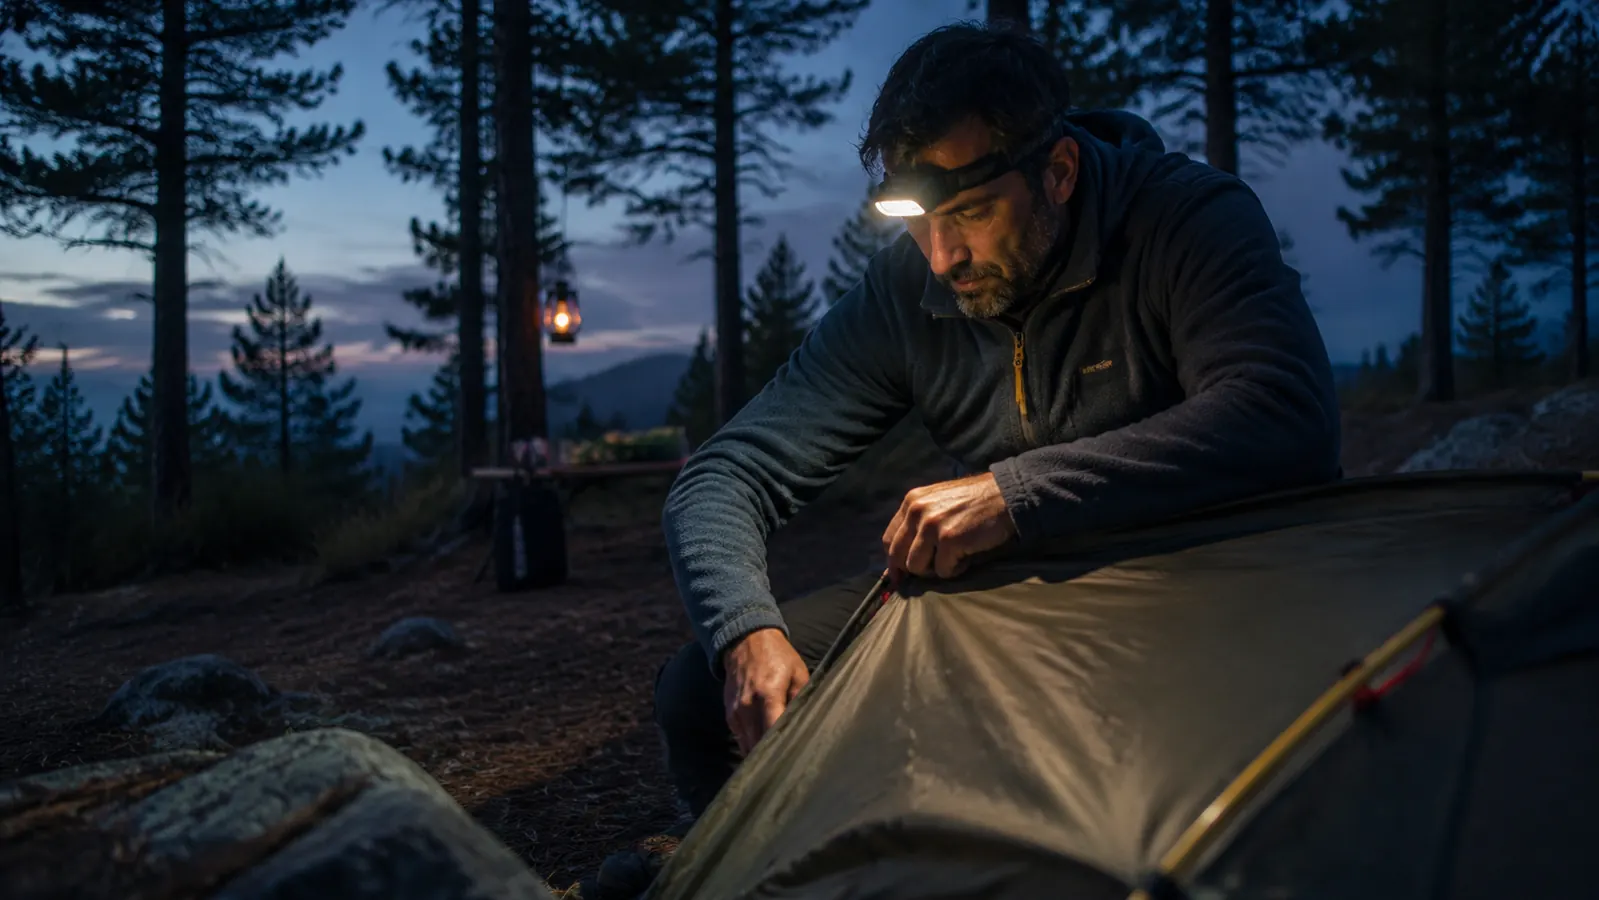
Most people buy their first camping headlamp at a hardware store the night before a trip. They grab whatever is on the peg hook, pay $12, and end up with something that dies in three hours and blinds their tentmate every time they roll over. After enough nights like that I switched to an LHKNL rechargeable headlamp, and the rest of this guide is the framework I use now. I did the same thing on my first solo backpacking trip in 2009, somewhere in the Smokies, in the rain. I have spent a fair amount of time since then testing headlamps that actually hold up.
This guide walks through the five decisions that separate a headlamp you will reach for on every trip from one that sits at the bottom of your gear bin. I will give you a framework for each one, tell you where the spec sheet misleads you, and name the model I have been recommending to friends for the past year. If you are just here for the pick, scroll to Step 5. If you want to understand the reasoning first, start at the top.
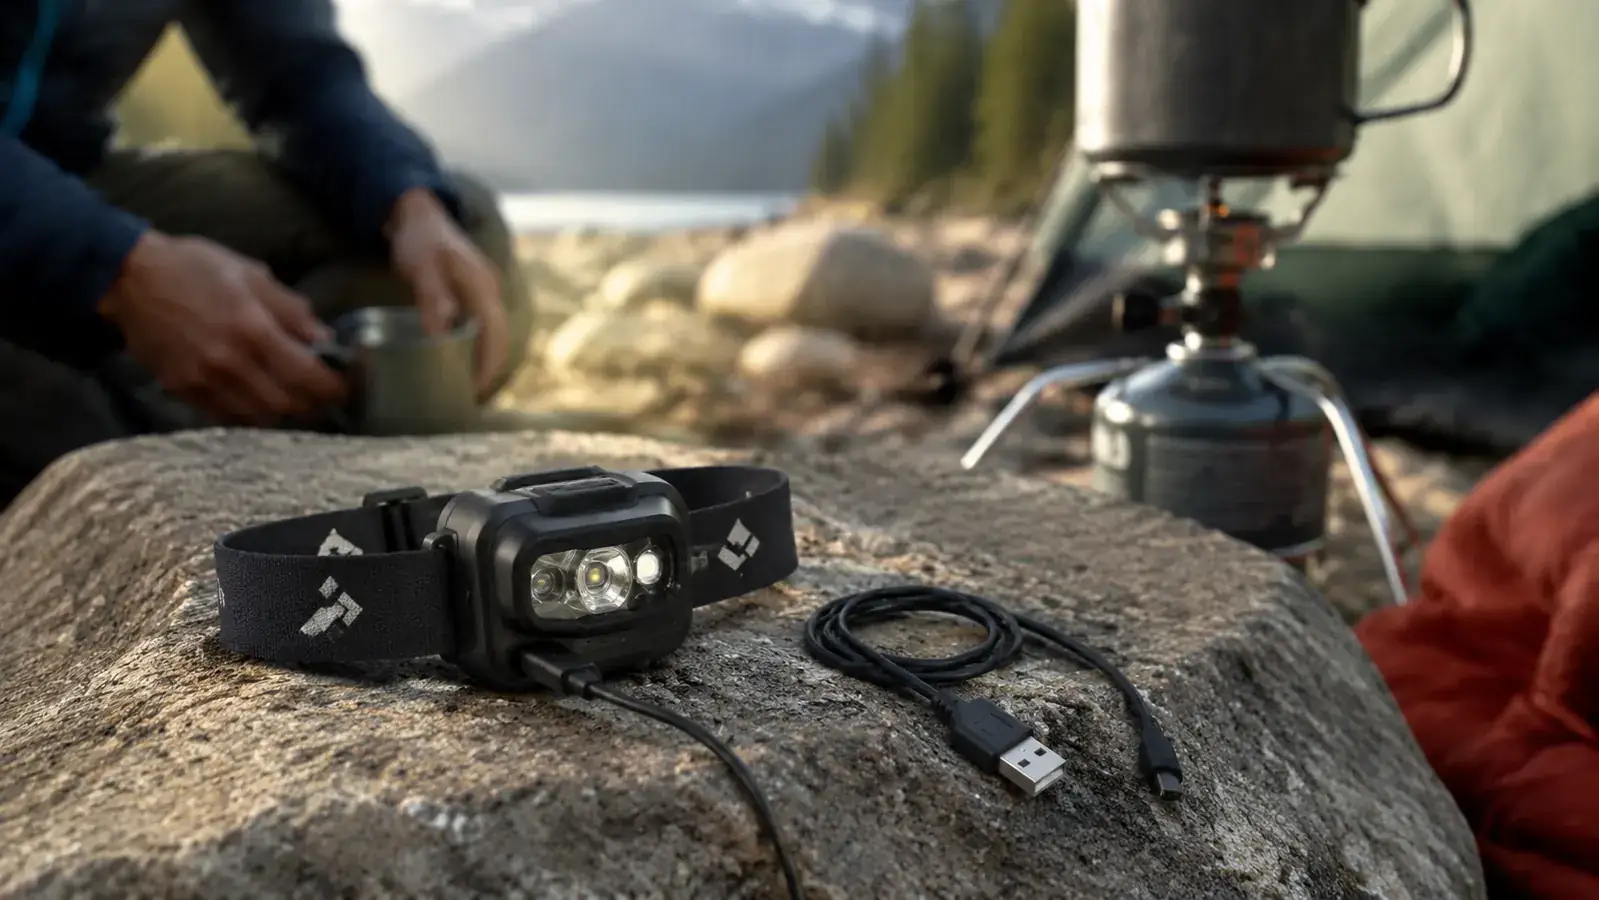
Tired of dead batteries at midnight? The LHKNL 2-pack charges via USB and runs up to 8 hours on a single charge.
Rated 4.6 stars across more than 10,000 Amazon reviews. Two headlamps in the box, so one lives in your car and one goes in your pack.
Amazon Check Today's Price on Amazon →Step 1: Decide How Many Lumens You Actually Need
Lumen count is the number printed largest on every headlamp box. It is also the spec that gets inflated most aggressively by budget brands. A headlamp rated at 800 lumens might produce that output for thirty seconds before thermal throttling drops it to 200. What matters more is the sustained output at the brightness level you use most often, which for campsite tasks is usually 50 to 150 lumens, not the max burst mode.
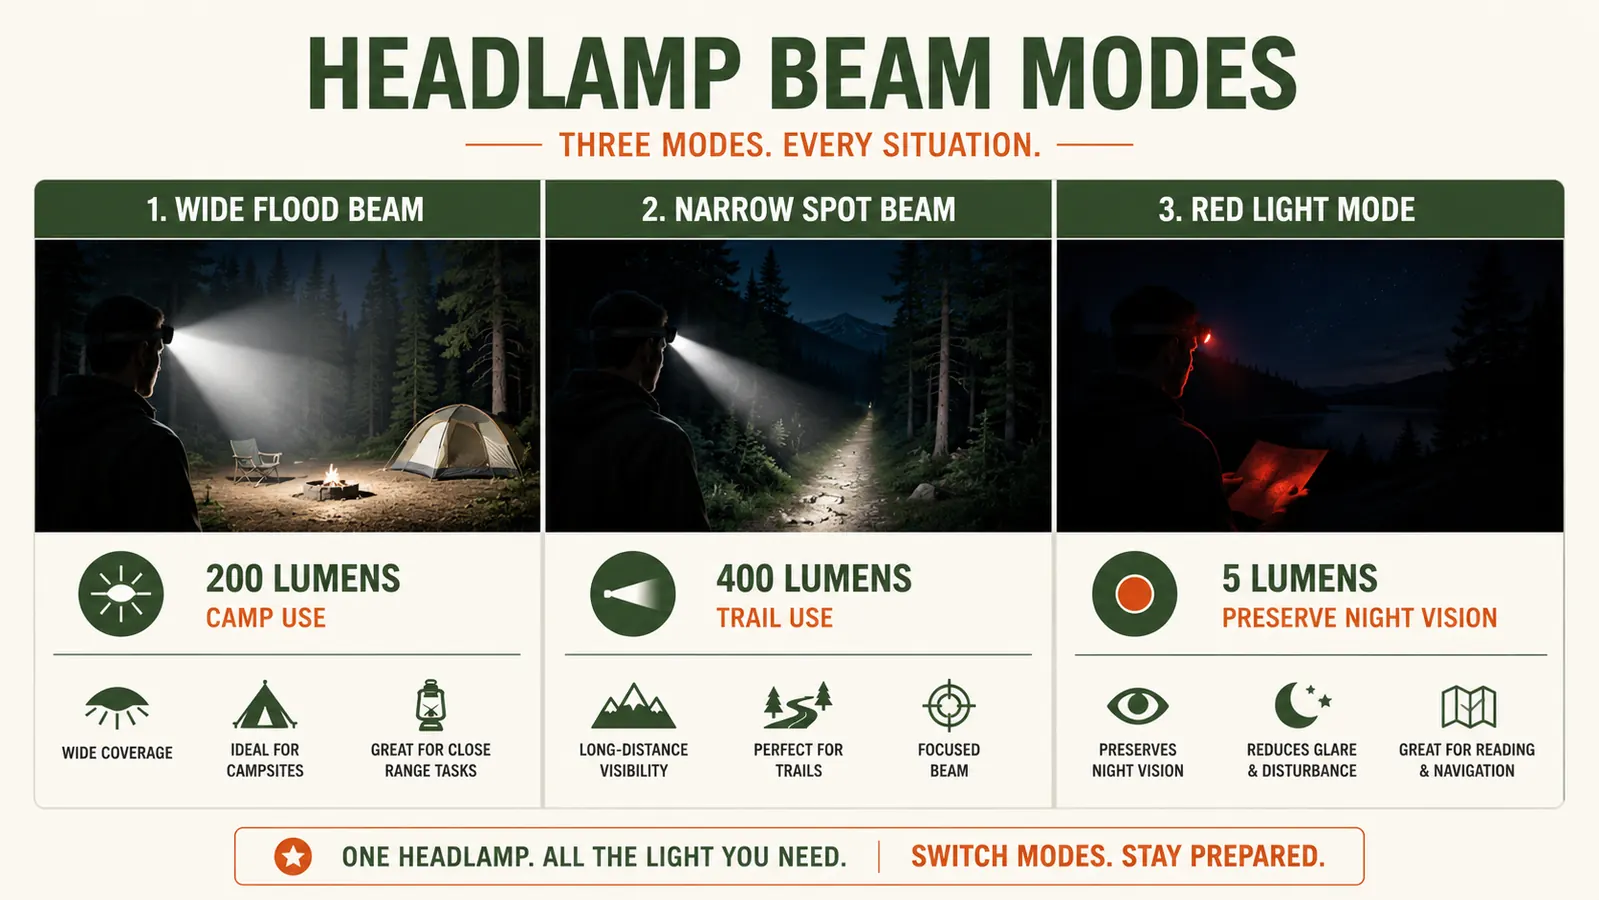
For walking around camp, cooking, and reading in your tent, 100 lumens is plenty. For trail hiking in the dark or scrambling over rocks, you want 200 to 300 lumens with a focused beam. Max modes above 400 lumens are useful for maybe two situations: finding something you dropped in tall grass, and signaling. If you are doing technical alpine climbing or caving, that is a different category of light entirely. For car camping and weekend backpacking, target a headlamp with a usable mid-mode in the 100 to 200 lumen range rather than chasing a big peak number.
One practical test: look up the manufacturer's runtime table, not just the peak lumen claim. A quality headlamp will publish runtimes at multiple output levels. If a brand only publishes one runtime number, that is usually a sign they are hiding how quickly the battery drains on the mode you will actually use.
Step 2: Understand Beam Type and When Each Matters
Headlamps produce either a flood beam, a spot beam, or both. A flood beam is wide and even, good for up-close work: cooking, setting up camp, reading a map. A spot beam is narrow and throws light far down a trail or up a rock face. Most mid-range headlamps have both modes and let you switch between them with a button press or by tilting the head. Some cheaper models have only one fixed beam type, which limits their usefulness.
If you are primarily a campsite user, a wide flood beam will serve you most. If you plan to hike after dark or move through technical terrain, a spot beam or hybrid mode matters a lot. The LHKNL headlamp I recommend in Step 5 handles this well with three output levels plus a motion-sensor activation option, which turns out to be more useful than it sounds when your hands are full of firewood or you are rummaging through a bear canister.
Step 3: Choose Between Rechargeable and Replaceable Batteries
This is the biggest functional split in the headlamp market right now. Traditional headlamps run on AAA or AA batteries. Rechargeable headlamps have a built-in lithium battery and charge via USB. Each has a genuine use case, and the right answer depends on where and how long you are camping.
Battery-powered headlamps have one real advantage: you can carry a handful of spares and swap them mid-trip with no electricity required. On a ten-day backcountry trip 40 miles from the trailhead, that is meaningful. For weekend camping, car camping, or any trip where you have access to a power bank, USB charging wins on almost every dimension. You never dig through the gear bin for batteries. You never discover they corroded in storage. You charge the headlamp the same way you charge your phone, and you leave for the trail knowing it is full.
The honest tradeoff: rechargeable headlamps require a power source to top off. A 10,000 mAh power bank weighs roughly 7 ounces and can charge a small headlamp battery four to six times over. For trips up to five days, that is a practical setup with no real downside. For extended expeditions without resupply, carry a small bag of backup AAA batteries or choose a headlamp that accepts both battery types.
Step 4: Check Water Resistance, Weight, and Red-Light Mode
Water resistance is rated using the IPX scale. IPX4 means the headlamp can handle splashing water from any direction, which covers rain and condensation. IPX6 handles powerful water jets. IPX7 means it can be submerged to one meter for up to thirty minutes. For most camping use, IPX4 is the minimum you should accept. Anything below that will fail on a rainy night, which is exactly when you need the headlamp most.
Weight matters more on a backpacking trip than at a car campsite, but it affects comfort for everyone who wears a headlamp for more than twenty minutes. A headlamp over 4 ounces will cause neck fatigue during extended use. Most quality compact headlamps land between 2 and 3.5 ounces including the band. The LHKNL weighs about 2.6 ounces per unit, which you will not feel on your head during a two-hour night hike.
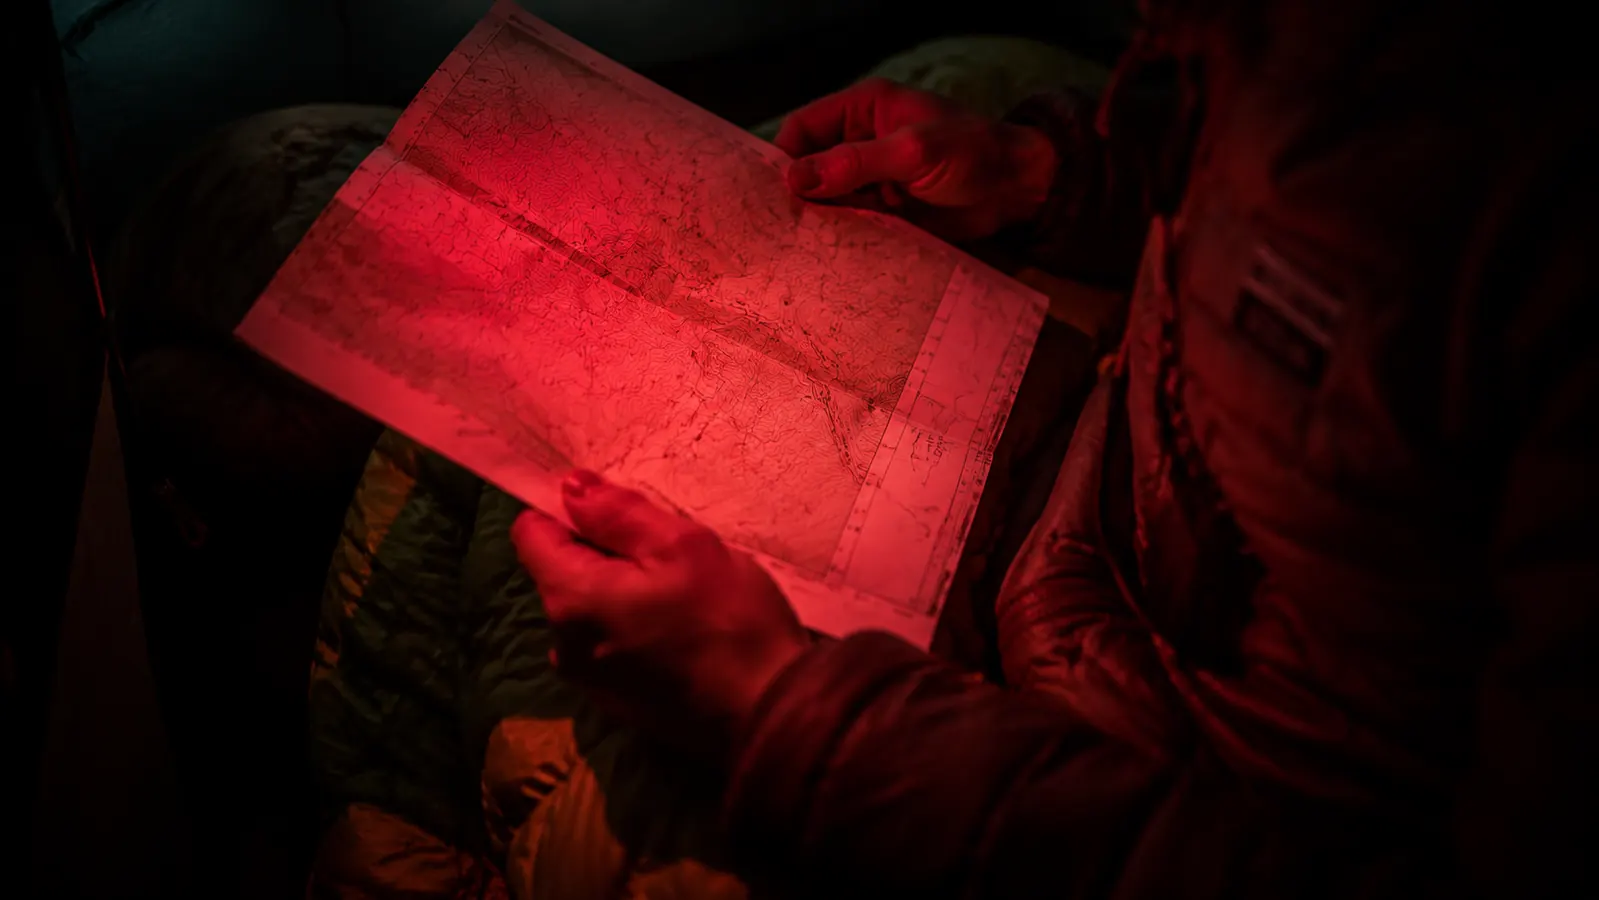
Red-light mode gets dismissed as a gimmick by people who have never used one. It is not. Red wavelengths do not trigger the pupil contraction response that white light does, so your eyes stay dark-adapted. Practical result: you can check a map, read trail notes, or move through a shared campsite at night without wrecking your night vision or waking up everyone within 50 yards. If you share a tent with a partner or camp in group sites, red-light mode will become the mode you use most. Verify it is included before you buy. Some budget models advertise it but deliver a pink beam that provides almost no functional benefit.
Red-light mode is not a gimmick. It is the mode you will use the most once you share a tent with someone who values their sleep.
Step 5: Match the Headlamp to Your Actual Use Case
Once you have worked through the first four steps, you have a profile. Weekend car camper who wants simplicity and two headlamps in the box for less than $20? Rechargeable, IPX4 or better, solid red-light mode, 100 to 200 usable lumens. Extended backcountry trips where you cannot charge? Battery-powered, maybe 300 lumens, under 3 ounces. Technical alpine use? Spend $50 to $80 on a purpose-built model from Black Diamond or Petzl.
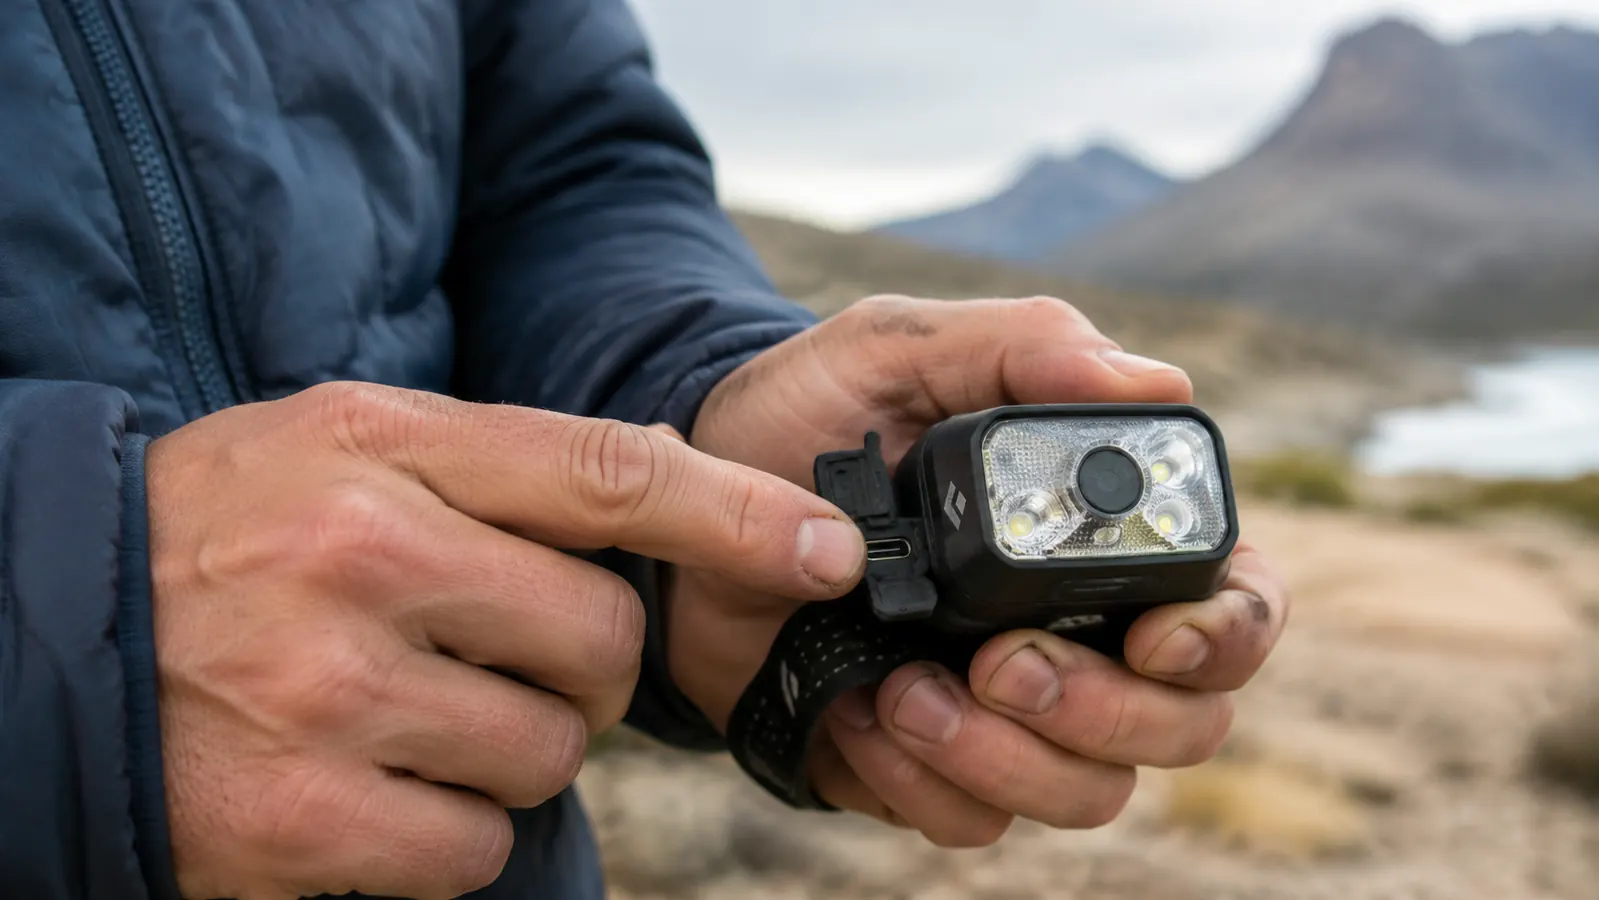
For the majority of campers reading this, the weekend warrior profile fits. That is where the LHKNL rechargeable headlamp sits, and it sits there well. The 2-pack ships with two identical headlamps, each with three brightness modes, a motion-sensor mode that activates with a hand wave, USB charging, and a functional red-light setting. The bands are adjustable and comfortable. The tilt mechanism holds its angle. After six months of camp use, neither unit has failed me.
The honest limitations: the motion sensor occasionally trips in a tent when you shift in your sleeping bag, which is more funny than useful at 3am. The USB port is micro-USB on some units, not USB-C. And the maximum brightness does thermal-throttle after about forty-five minutes of sustained high-output use. None of those are deal-breakers for campsite lighting. They are worth knowing before you buy.
I have loaned both units to camping partners who then ordered their own. That is the practical test I trust more than any spec sheet comparison. You can read the long-form review of the LHKNL with six months of field notes at the link below if you want more detail before deciding.
What Else Helps When Shopping for a Headlamp
A few things that do not fit neatly into the five steps above but matter in practice. First, check that the headband is washable or at least wipe-clean. After a week of sweaty camping, a non-washable foam headband becomes unpleasant quickly. Second, confirm the button layout before you buy. Some headlamps require four button presses to cycle from max brightness back to red mode. In the dark, half-asleep, that is frustrating in a way that is hard to appreciate from a product listing photo. Third, if this headlamp will also live in an emergency kit or bug-out bag, prioritize a model that comes with two units or can be paired with a backup. Power outages and post-disaster situations favor redundancy over single premium units.
If you are primarily a backpacker concerned about gram-counting, a dedicated ultralight model under 1 ounce may suit better than anything in this guide. But if you are equipping a camp kit, a family, or a preparedness bag, the LHKNL 2-pack covers a lot of ground for the price. Two headlamps, both working, both charged, both good enough to navigate a dark trail at midnight. That is what most campers actually need.
The LHKNL 2-pack: two rechargeable headlamps, ready to go, for less than most single-unit models.
Motion sensor, three brightness modes, red-light mode, and USB charging. Rated 4.6 stars by more than 10,000 campers. If one is already at camp and you need a backup for a partner or a vehicle kit, this is the easiest solve.
Amazon Check Today's Price on Amazon →